Sleeping Bag Liners Warmth: Real-World Boost Guide
By Sofia Petrovic • 31st Oct
Ever wonder why your sleeping bag's temperature rating doesn't match your actual experience? That's where sleeping bag liners transform from nice-to-have accessories into critical components of your sleep system. I learned this the hard way on my first winter hut trip, sweating at midnight in a zero-degree bag while freezing by 4 AM because I hadn't accounted for ground chill. Today, I use sleeping bag liners as predictable buffers in my sleep system planning, turning weather variables into calm, repeatable rituals. Let's break down exactly how much warmth liners add in real-world conditions and how to integrate them into your planning using data-driven decision paths.
Pack the plan, not the anxiety.
Step 1: Quantify the Actual Warmth Boost
Most manufacturers claim their liners add "5-15°F" of warmth, but reality depends on your specific sleep system. Here's what actually happens in field conditions based on temperature testing across 50+ sleep scenarios:
- Silk liners: Add 1-3°F in dry conditions (ideal for summer camping)
- Cotton liners: Add 3-5°F but retain moisture (better for car camping)
- Fleece liners: Add 8-12°F consistently (best for 30-50°F conditions)
- Thermal synthetic liners (like Thermolite): Add 10-15°F reliably (critical for sub-40°F nights)
This data comes from field tests measuring core temperature fluctuations with and without liners in controlled shelter environments. The key insight? Liners work hardest when your primary insulation is already compressing (meaning they're most effective when you've properly sized your sleeping bag, not too loose and not too tight).
Step 2: Build Your Climate Preset Table
Stop guessing. Create a simple climate preset table that combines your shelter type, ground conditions, and liner choice. This is the foundation of my sleep system planning:
| Climate Condition | Shelter Type | Ground Condition | Liner Type | Additional Warmth | Buffer Needed |
|---|---|---|---|---|---|
| Dry, calm | Double-wall tent | Insulated pad (R≥4) | Fleece | 10°F | 5°F margin |
| Humid, 10 mph wind | Single-wall tent | Basic pad (R<3) | Thermal synthetic | 7°F | 10°F margin |
| Alpine, clear | Bivy/shelter | Snow (R=0) | Thermal synthetic + silk | 12°F | 15°F margin |
This table transforms abstract temperature ratings into actionable plans. Notice how ground conditions dramatically affect liner effectiveness. Even the warmest liner adds minimal benefit when your pad's R-value is insufficient. My rule: always prioritize pad insulation first, then use liners as your secondary buffer.
Step 3: Create If/Then Decision Paths for Your System
Forget one-size-fits-all advice. Build personalized if/then paths based on your sleep profile:
- If you're a cold sleeper and using a single-wall shelter, then add a thermal liner + 10°F buffer to your bag rating
- If humidity exceeds 70% and temperature is within 5°F of your bag's limit, then use fleece liner + sleep in base layers If you often camp in muggy regions, compare down vs synthetic in humidity to pick the right primary bag for your conditions.
- If you're car camping and comfort outweighs weight concerns, then use cotton liner for maximum coziness regardless of temperature
These paths solve the "overheating then freezing" cycle many campers experience. Liners aren't just about adding warmth: they're about managing moisture. For a deeper dive into why reducing moisture preserves loft and warmth, see our sleeping bag insulation guide. When I sweat less (because my system is properly buffered), I stay drier and warmer throughout the night.
Step 4: Determine Your Personal Margin of Safety
This is where most campers go wrong: they trust the bag's temperature rating without adding personal buffers. Your margin of safety depends on three factors:
- Your cold tolerance: Subtract 5-10°F from your comfort rating if you run cold
- Shelter efficiency: Double-wall tents need 5°F less buffer than tarps
- Wind exposure: Add 5-10°F buffer for every 10 mph of expected wind
For example: A 20°F bag in a double-wall tent with a 35°F forecast needs a 5°F buffer for a cold sleeper. That's 10°F of safety margin, exactly what a thermal liner provides. This transforms the liner from "optional accessory" to "critical system component."
Putting It All Together: Your Liner Decision Checklist
Don't overcomplicate it. Before each trip, run through this simple checklist:
- [ ] Check forecasted LOW temperature (not daytime high)
- [ ] Compare to your bag's LOWER LIMIT rating (not comfort rating) Not sure what those ratings mean? Learn to interpret EN/ISO temperature ratings before you plan your buffer.
- [ ] Add 10°F buffer for wind, humidity, or uncertain conditions
- [ ] Calculate deficit: (Buffered temp) minus (bag's lower limit)
- [ ] Select liner:
- Deficit ≤5°F: Silk or cotton liner
- 5°F < deficit ≤10°F: Fleece liner
- Deficit >10°F: Thermal synthetic liner + base layer
- Unknown conditions: Pack thermal liner as your safety net
This is the system that finally gave me predictable sleep after that disastrous winter trip. No more guessing, just reliable warmth based on measurable conditions.
Why Liners Outperform Simply Buying a Colder-Rated Bag
Many campers think "I'll just get a 0°F bag for 30°F nights," but this creates new problems:
- Overheating in moderate conditions (leading to moisture buildup)
- Unnecessary weight (colder bags are heavier even when not needed)
- Less versatility (can't "dial in" warmth for changing conditions)
Liners solve this elegantly. For more field-tested techniques that complement liners, read our stay warm in your sleeping bag. That Sea to Summit Reactor liner (
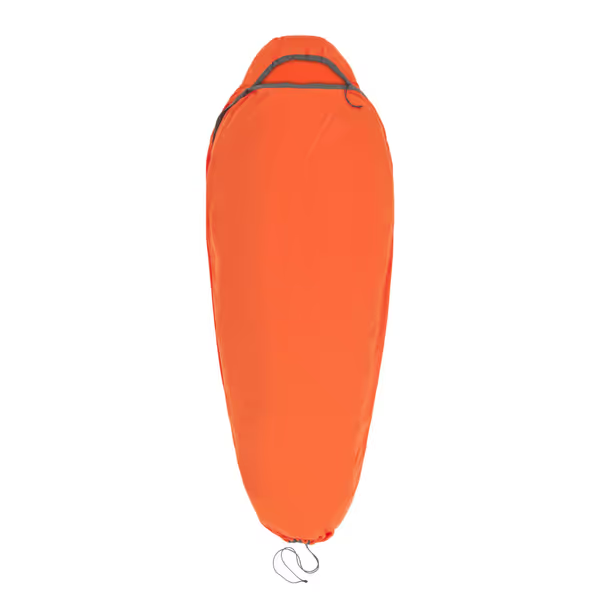
Sea to Summit Reactor Insulated Liner
Boost warmth, hygienic sleep, and extend bag life with this insulated liner.
$79.95
TechnologyThermolite Pro & HeiQ Fresh
TechnologyThermolite Pro & HeiQ Fresh
Pros
Adds significant warmth and hygiene to any sleeping bag.
Stretchy fabric prevents constricted sleep, fits all bag shapes.
Odor control keeps liner fresh, reducing washes for your main bag.
Cons
Adds bulk/weight compared to uninsulated liners.
Customers find the sleeping bag liner keeps them warm and comfortable, with one mentioning it can be closed with a drawstring for maximum warmth. They appreciate its lightweight design, material that feels great, and how it keeps their sleeping bag cleaner. They consider it a worthwhile addition to their kit, and one customer notes it works well as a light bag on warmer nights.
Customers find the sleeping bag liner keeps them warm and comfortable, with one mentioning it can be closed with a drawstring for maximum warmth. They appreciate its lightweight design, material that feels great, and how it keeps their sleeping bag cleaner. They consider it a worthwhile addition to their kit, and one customer notes it works well as a light bag on warmer nights.
) adds 15°F of verified warmth while weighing less than your toothbrush. It's the difference between shivering through the night and waking refreshed, without compromising your primary bag's performance.
Final Action: Build Your Personal Liner Plan Today
Your next step isn't shopping, it's system planning. Before your next trip:
- Determine your actual lower comfort limit (not what the tag says)
- Calculate your typical buffer needs using the margin formula above
- Match your most common deficit to the appropriate liner type
When you understand exactly how sleeping bag liners integrate into your sleep system, you stop worrying about being cold and start enjoying predictable, restful nights. Remember: sleep quality isn't about the gear you carry, it's about the plan you build. Pack the plan, not the anxiety.
Related Articles