Winter Bikepacking Sleeping Bags: Fit & Warmth
By Maya Ndlovu • 28th Apr
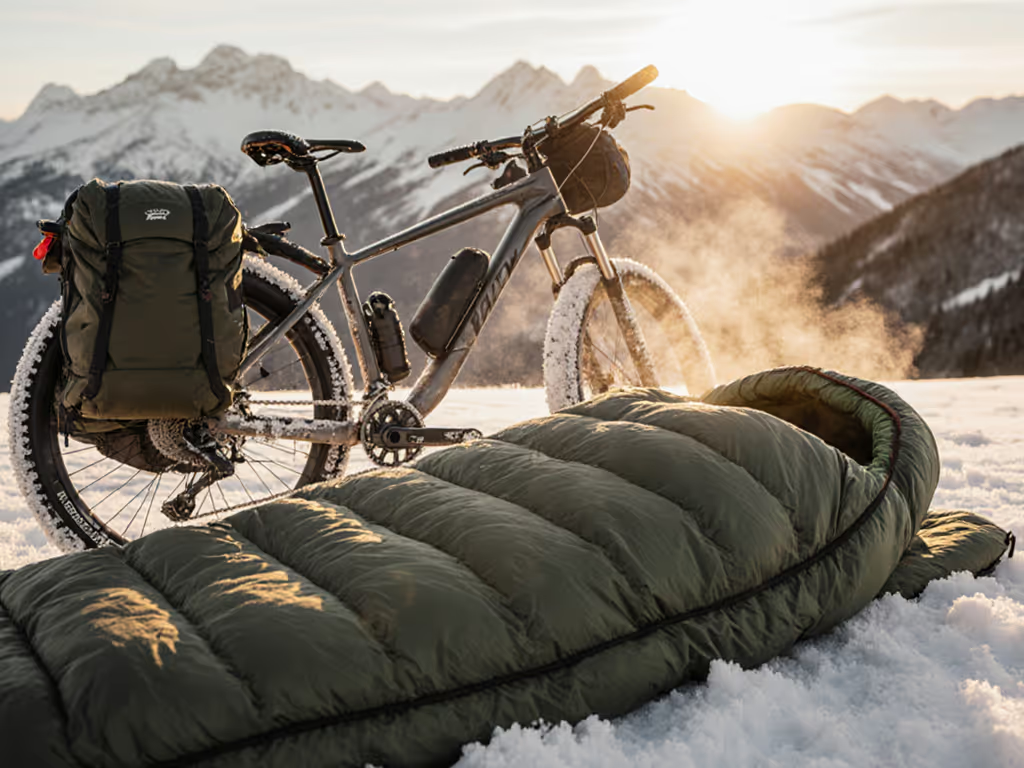
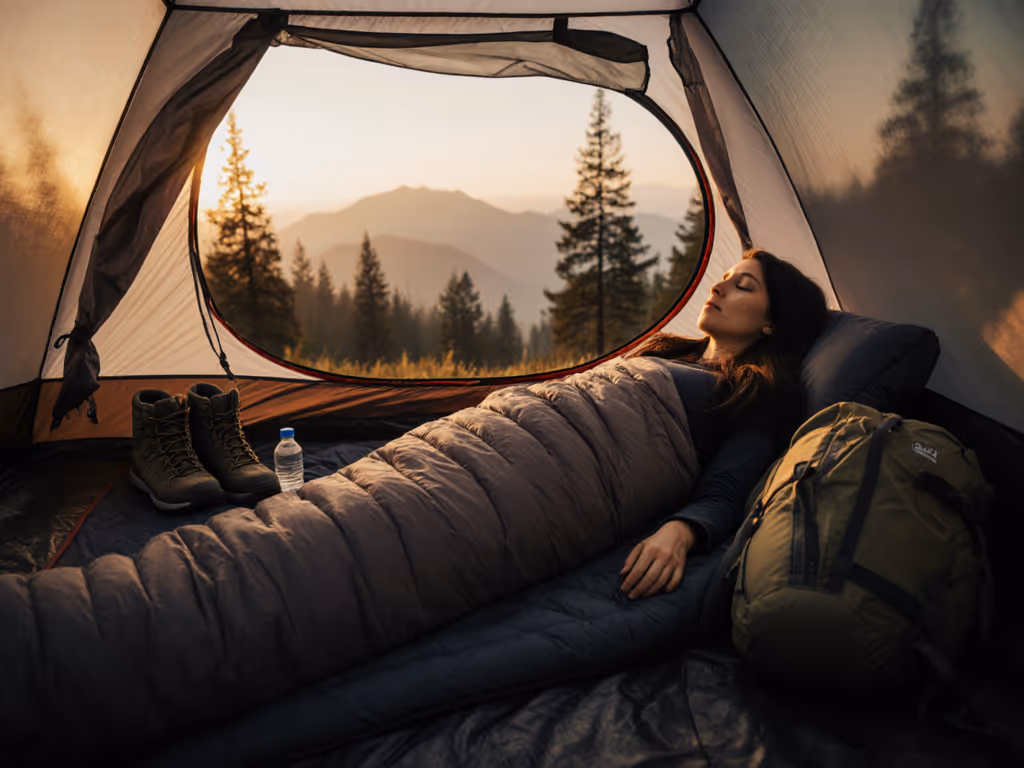
A 20°F temperature rating doesn't guarantee a 20°F night, not when you're waking at 2 AM with cold shoulders because the bag's cut compresses your insulation, or damp at dawn because fabric and fit are trapping humidity instead of releasing it. Warmth on the bike is multi-factor: fit, feel, fabric, and freedom working together, and the right winter bikepacking sleeping bag starts with understanding how your body position, the shell's breathability, and the actual bag geometry interact.
Over years helping cold and clammy sleepers dial in their systems, I've learned that the gap between rated warmth and felt warmth often comes down to three overlooked elements: whether the bag actually fits your sleep position, whether the lining can shed moisture faster than your breath and skin create it, and whether you have the margin to move without collapsing insulation. This guide cuts through the rating confusion and maps the path to a setup that works, not just on paper, but when you're 200 miles from your car and the temperature drops faster than the forecast promised.
What's Different About Bikepacking Sleep Systems?
Bikepacking demands a different calculus than car camping or even backpacking. For packability-first picks and verified temp performance, see our bikepacking sleep system guide. Weight constraints are tighter, pack volume is ruthless, and your sleep system can't be an afterthought, it's often the difference between a sane recovery night and a survival huddle. At the same time, the variability of your conditions is huge, you might spend one night in a double-wall tent on high ground and the next in a single-wall shelter near water where condensation is fighting you hard.
Why temperature ratings alone don't cut it: A 15°F bag (EN 13537 comfort rating) tells you when an average sleeper will feel comfortable, but it assumes baseline insulation beneath you. On a bikepacking trip with a thin pad or high-altitude camp, that rating evaporates. The real question is this: at what combination of bag rating, pad R-value, shelter type, and your body's actual heat output will you actually sleep?
The second wildcard is fit. Bikepacking bags often use aggressive taper or semi-rectangular cuts to save grams and pack space. If you're a side sleeper or have broader shoulders, that aggressive cut can compress the insulation where your body needs it most, and the warmth gain from cutting weight becomes a warmth loss from flattened down or synthetic loft.
FAQ: Fit and Temperature Match
How Do I Know If a Bag's Cut Will Work for My Body?
Start with your sleep position, because it's the first filter. Back sleepers have the easiest road: almost any mummy cut that's not aggressively tapered will keep you off the walls and preserve loft. Side sleepers, this is where drafts start to creep in. A narrow taper that gapes at the shoulders or compresses your ribs means air seeping into the insulation and cold spots along your side. Look for bags with a roomier shoulder box (indicated by seam placement) or semi-rectangular cuts that let you nest without crushing loft. For model picks that prioritize shoulder room, see our side sleeper sleeping bags guide.
Stomach sleepers face a different pressure: deep tapers and narrow footboxes can twist and bunch under you, creating dead zones. You need a bag that gives you room to shift position without the insulation collapsing or wrapping around you like a straitjacket.
The diagnostic: lie on your side in the bag (in a store or after a liberal return window). Do your shoulders press against the bag walls? Does your hip sink and create a gap above your side ribs? If yes to either, size up or pivot to a cut with more shoulder girth. Don't assume unisex or men's or women's labels; measure your actual shoulder width and torso length against the bag's dimensions (reputable makers publish these). The smallest warm bag isn't the best bag if it's compressing your insulation by 20 %.
Women and smaller-framed sleepers often find a better fit in bags marketed as women's, not because of fabric color, but because the torso is shorter, shoulder is narrower, and footbox is smaller, reducing dead air pockets that pull warmth away from your core.
What Temperature Rating Should I Actually Target for Winter Bikepacking?
Ignore the "just add 10°F to the forecast" rule, it's too blunt. Instead, build a scenario:
Step 1: Determine your real night low. Not the forecast low; the effective low after wind chill, humidity, and your shelter's insulation. A single-wall tent with 2-inch walls in 15°F wind and high moisture might feel like 5-10°F colder than the thermometer says.
Step 2: Know your personal cold threshold. Cold sleepers (yes, cold sleepers are a thing; it's partly metabolic and partly the insulation under you) need a 15-20°F bump from the comfort rating. Warm sleepers might get away with a 5-10°F bump. You can't change this without fuel and layers; design the bag around it.
Step 3: Layer in your pad's R-value. The pad is half or more of your warmth equation on the ground. An R 4.5 pad (high insulation) under a 20°F bag in calm conditions might be comfortable to 10°F if you're a warm sleeper. Drop the pad to R 2.5, and that same bag now feels like a 25-30°F system. Don't choose your bag in isolation; choose bag + pad together.
A lived example: I once woke clammy in a bag rated well below the night's low on a humid coastline trek. It wasn't temperature; it was the low-MVTR liner and tight fit trapping moisture on skin, and the wind finding seams around my shoulders. The real fix wasn't a warmer bag: it was a roomier cut, a higher-breathability shell, and a pad that let humidity escape underneath. Grams didn't matter; the system did.
How Do I Account for Moisture and Condensation?
Here's the tension: water vapour from your breath and skin is always trying to escape the bag. Get the full breakdown of breathable shells and how they manage sweat in our moisture-wicking fabrics guide. If it hits a cold shell and condenses, it wets the insulation (down dies, synthetic gets damp and clumpy). A tight fit traps that moisture inside. A loose fit lets air move through faster but might let cold in. Balance is the answer, and it starts with fabric choice.
Down insulation works best when the shell has a high MVTR (moisture vapour transmission rate), ideally 5,000+ g/m²/24h. Synthetic insulation is more forgiving if damp but heavier; it's your safety net in humid conditions. If you're bikepacking in coastal ranges or spring alpine (where condensation risk is real), synthetic or a hybrid bag with a down footbox lets you vent without losing warmth entirely.
Fabric hand notes: Run your fingers over the shell and lining. A papery, crinkly lining (often nylon taffeta) sheds moisture faster than a smooth, soft one (usually polyester). If you're a sweaty sleeper, the papery lining is your friend even if it feels less luxurious.
Condensation check: If you find the inside of your bag damp in the morning, it's usually one of three issues:
- The bag is rated too warm for the night, and you're overheating and sweating. Solution: unzip and vent, or step down a rating.
- Humidity is high and the bag can't breathe fast enough. Solution: Choose a higher-MVTR shell or add a synthetic layer over or under the bag.
- Your pad is trapping moisture underneath you, and it's coming back up through the bag. Solution: Upgrade to a pad with a vapor barrier or switch to a quilt (where bottom insulation isn't an issue).
For extreme-cold bikepacking in dry climates (high altitude, winter desert), down is lighter and warmer. In shoulder seasons near water or fog, synthetic or hybrid is insurance.
Draft Management and the Zipper-Quilt Trade-Off
Where Do Drafts Come From in Winter Bags?
Drafts aren't magic; they follow a path. Cold air finds seams, shoulder gaps, and the zipper channel (the tunnel between the inner and outer shells that runs the length of the bag). In a windy or single-wall shelter, that channel becomes a cold highway.
The shoulder seal is first. If the bag's cut doesn't match your shoulder width, you get a gap no matter how much you cinch. Solution: better fit (see above) or a draft collar (a thick ring of insulation around the neck that seals the bag opening).
The zipper channel is second. High-end bags use baffled (internal wall) construction to stop cold from seeping down the zipper track. Budget bags often don't. If you're in extreme cold, vet the zipper construction before buying.
The hip and leg seal come third. Restless sleepers or side sleepers can shift and fold the insulation in ways that create gaps. A semi-rectangular bag (wider at the hips) or a quilt with a footbox taper gives you more freedom to move without collapsing loft.
Zippered Bag vs. Quilt: Which for Winter Biking?
Zippered bags are more popular for winter bikepacking because they're easier to regulate (unzip when hot, zip when cold) and don't require attachment to a pad (quilts need a perimeter attachment system or they'll collapse under you). They're also easier to use in a hammock or on variable ground.
Quilts shine if you're a restless sleeper, if you bike between vastly different conditions (quilt over a pad rated R 6 one night, R 2 the next, and you're adjusting insulation via the pad instead of swapping bags), or if you want absolute freedom to move. They're lighter if you already have a quality pad; if you don't, the combo might weigh the same or more.
For winter bikepacking, stick with a zippered bag unless you're already a quilt user. The learning curve and attachment-system fiddling aren't worth it when you're tired and cold. If you do go quilt, ensure your pad has a baffled or sticky top to keep the quilt anchored; a floating quilt in 20°F wind is a nightmare.
Balancing Weight, Warmth, and Budget
How Much Should I Actually Spend?
A 15-20°F winter bikepacking bag from a reputable maker runs $250-550 depending on down quality and construction. A top-tier bag with premium down and stellar fit might hit $700+. Here's how to think about it:
Under $300: Synthetic insulation or budget down. Heavier (often 2.5-3.5 lbs), but durable, forgiving if damp, and good for learning your sleep style. Trade-off: more pack weight and bulk.
$300-500: Premium down (900+ fill power) or high-end synthetic with refined fit. Lighter (1.8-2.5 lbs), better temperature range, and better value longevity. Most bikepackers find their sweet spot here.
$500+: Premium down (900-1000 fill power), advanced baffling, ultralight shells, and meticulous fit. You're paying for grams and refinement. Worth it if you're a frequent winter camper and weight is critical; overkill if you bike three times a year.
The real cost analysis: Don't buy a $250 bag and a $300 pad. Buy a $350 bag and a $500 pad (R 4.5+). The pad matters more for warmth. Conversely, don't buy a $600 bag and cheap out on the liner or ignore draft management. The system has to work together.
Synthetic or Down for Winter?
| Factor | Down | Synthetic |
|---|---|---|
| Weight | 10-20 % lighter at same warmth | Heavier (often 1.5 kg or more) |
| Packability | Compresses to 1/4 volume | Takes up more pack space |
| Cold Wet | Fails if soaked; useless when wet | Retains ~60 % warmth if damp |
| Durability | 15-20 years with care | 7-10 years before loft loss |
| Cost | Higher upfront ($400-800) | Lower upfront ($250-500) |
| Maintenance | Needs dry storage; occasional loft refresh | Wash and dry; minimal fuss |
| Best For | Dry alpine, high-elevation, frequent winter trips | Shoulder seasons, humid/coastal, budget-conscious |
The take: If you're bikepacking high-altitude winter routes in the Rockies or Cascades (low humidity, forecasted dry), down is a lighter, packable win. If you're in the Northeast corridor, coastal ranges, or shoulder seasons (humidity is real), synthetic or a down/synthetic blend hedges your bets. Down with a high-MVTR shell can also work in humid conditions if you're disciplined about venting.
Pad R-Value: The Overlooked Warmth Game-Changer
I need to hammer this home: the pad is at least 50 % of your warmth equation. On the ground, you lose insulation through compression (your weight flattens the bag's bottom), convection (cold air under the bag), and conduction (direct contact with the cold earth). A good pad stops all three.
Winter bikepacking baseline: R 4.5-5.5 for 20°F and colder. If you bike in variable conditions (some nights 30°F, some 10°F), an R 5.5 pad lets you pair it with a lighter 10°F bag and still be warm at 15°F. An R 3 pad forces you to buy a heavier 0°F bag.
Pad type matters for bike trips:
- Foam (closed-cell, EVA): Cheap, durable, no air leaks, but takes up pack volume and sits heavy (4-5 lbs for full-length).
- Inflatable (air + foam): Best warmth-to-weight ratio, compact packed (1.5-2.5 lbs), but requires a pump or lung-power and can puncture.
- Hybrid (air + foam + reflective layer): Sweet spot for many bikepackers, good warmth, packability, and durability.
For winter bikepacking, a hybrid or high-R inflatable (R 4.5+) is the move. It saves weight versus foam, doesn't require a sleeping system redesign, and integrates with your bike setup without fussiness.

Scenario Playbooks: Real Conditions
High-Altitude Winter Bikepacking (13K ft, Dry, Windy)
Expected low: 5°F; effective low with wind: -5°F.
System: 0°F down bag (15-20°F comfort rated, so you have margin) + R 5.5 pad + synthetic liner (adds 5-10°F) + merino long underwear + down jacket in sleeping bag.
Why: Altitude means low humidity; down is optimal. Wind drafts are real, so draft collar and meticulous fit are non-negotiable. Synthetic liner is overkill unless you're sweaty, but at 5°F, you won't be. The down jacket inside the bag adds insulation and dead-air layer without adding bulk to the packed system. For realistic warmth gains and when they help most, see our sleeping bag liners guide.
Coastal Spring Bikepacking (40°F forecast, 95 % humidity, possible rain)
Expected low: 35°F; effective low with moisture risk: 40-45°F.
System: 20°F synthetic or down/synthetic blend bag + R 4 pad + high-MVTR shell or semi-open quilt + breathable liner + merino layers.
Why: Humidity is your enemy; synthetic's forgiveness or high-MVTR down both work. Semi-open quilt allows venting if you overheat. R 4 is enough for ground insulation in mild temps; the margin comes from layers and the bag's bulk. Breathable fabric and liner are critical to shed condensation; here, that papery lining or a cotton liner makes a difference.
Desert Shoulder Season (35°F night, 10 % humidity, 50°F day)
Expected low: 35°F; effective low in single-wall shelter: 30°F.
System: 20°F down bag + R 3.5 pad + merino layers.
Why: Shoulder season means you'll be in the bag only 10-12 hours, so you can be slightly cool and still sleep. Down is light and packable. R 3.5 is enough for mild cold if you're a warm sleeper; if you're cold-sensitive, bump to R 4.5. The margin comes from layers and the ability to shift the bag if you're uncomfortable.
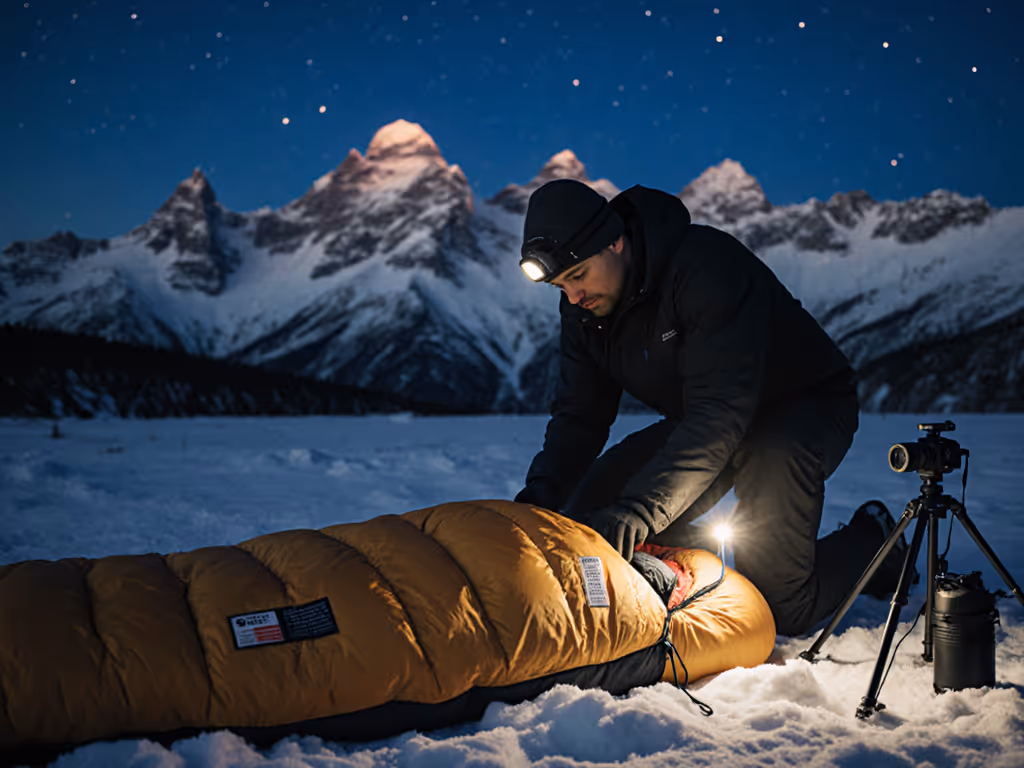
Durability, Ethical Down, and Longevity
A high-quality winter bag should last 15-20 years with care. That means:
- Store loosely (hang it up or use a mesh bag) after each season, not compressed in its stuff sack.
- Wash annually (if synthetic, gentle cycle; if down, use down-specific detergent and low heat dryer to loft it back up).
- Repair seams and zippers promptly. A 10-dollar seam repair stops a 400-dollar bag from dying.
- Spot-clean the shell if it gets grubby; full wash degrades DWR (durable water repellent) coatings, so do it sparingly.
Ethical down sourcing matters if it's important to you. Look for Responsible Down Standard (RDS) certification, which ensures geese and ducks are treated humanely and that the supply chain is transparent. It adds 5-10 % to the cost but aligns gear with your values.
Bringing It Together: Your System
Comfort is multi-factor: fit, feel, fabric, and freedom. No single metric (temperature rating, weight, price) tells the whole story. A 15°F bag from a no-name brand might feel cold because the fit gapes at your shoulders. A premium 20°F bag might keep you clammy because the lining can't shed moisture fast enough. The right setup accounts for all four.
Start with these questions:
- What's my real night low and sleep position? (This determines minimum temperature rating and fit needs.)
- What's my pad's R-value? (This determines your actual warmth, not the bag's rating alone.)
- Am I in a humid or dry climate? (This determines down vs. synthetic and MVTR targets.)
- How much weight and bulk can I carry? (This determines down vs. synthetic and bag-pad combo.)
- What's my sleep style: still, restless, side, back, stomach? (This determines cut, draft management, and quilt vs. bag.)
Answer those five, and the bag choice becomes clear. The rest is validation: check dimensions, read independent reviews from reviewers who tested in similar conditions, and lean on the liberal return policies that cottage makers and major retailers offer. Bikepacking sleep systems are too personal to buy sight unseen, but with these diagnostics, you'll know what to look for and what to return.
Further Exploration
Your winter bikepacking sleep setup is an investment in trip success, safety, and the difference between a restorative night and a survival huddle. The path forward is to test your hypothesis: if you're a side sleeper in coastal ranges, rent a 20°F synthetic bag with a high-MVTR shell and a friend's R 5 pad for a weekend, and see how it feels at 35°F and 90 % humidity. If you're an altitude fiend, borrow a down bag from a friend and dial in your layer strategy at altitude. The gear will reveal itself; your job is to listen to what it tells you and adjust.
Keep a sleep log on multiday trips: record the low, your pad, your bag rating, your layers, how you woke (warm, cold, damp, restless), and whether you'd make a change next time. After three trips, a pattern emerges. That pattern is your personalized formula, and it's worth far more than any generic rating.
Related Articles