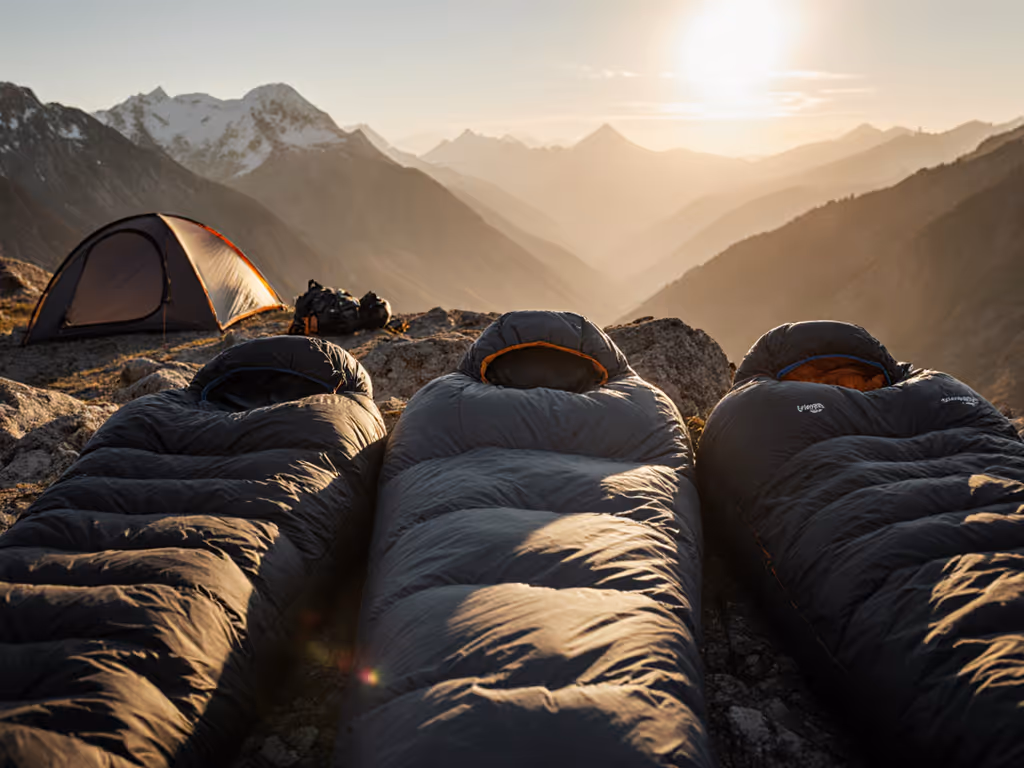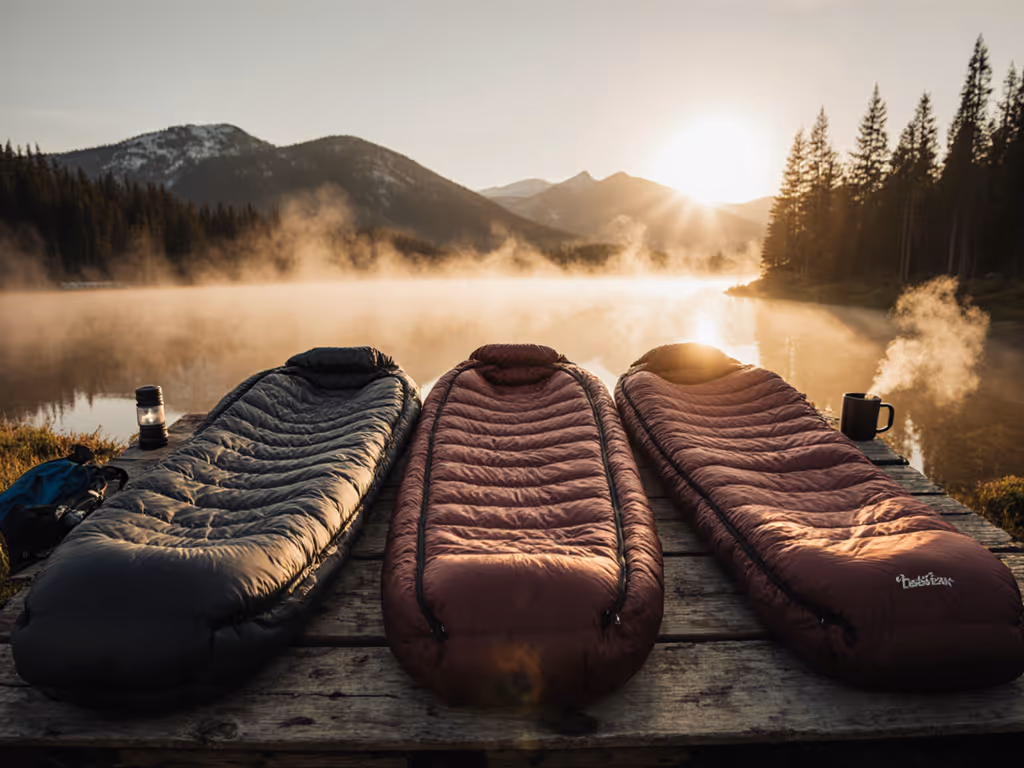
Sleeping Bags for Restless Sleepers: Movement & Warmth
By Sofia Petrovic • 12th Apr
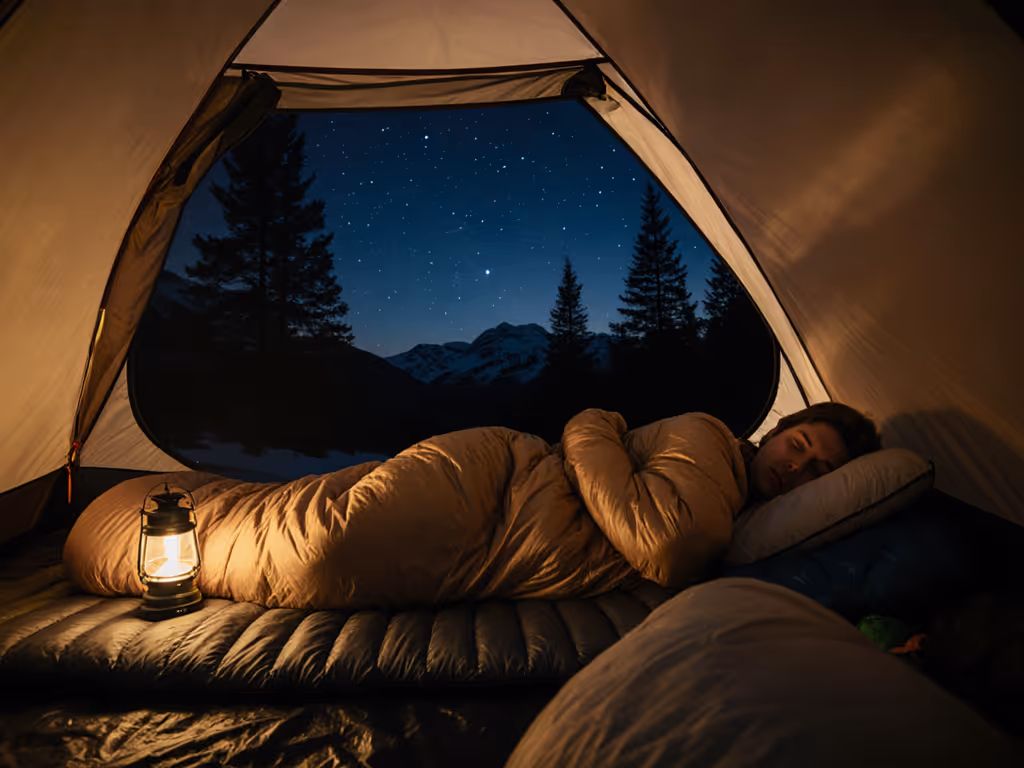
If you're someone who tosses, turns, and repositions throughout the night, a standard mummy bag can feel like a straightjacket by 3 a.m. The problem isn't just discomfort, it's the uncontrolled shift of insulation redistribution patterns that leaves you shivering in your own sleeping bag. Movement-friendly sleeping bag design starts with understanding how your body interacts with fabric and loft when you're anything but still. This guide walks you through a five-step system to find the right bag, pair it with the right pad, and build a sleep setup that actually accommodates your restless habits instead of fighting them.
I learned this lesson the hard way. On my first winter hut trip, I overpacked a zero-degree bag rated for conditions I wasn't in, then underestimated the pad (a combination that left me sweating at midnight and freezing by four). The insulation had migrated, my hips had compressed the pad, and my sleep plan was a disaster. Since then, I've built every sleep system using the same scenario table: shelter type, wind exposure, ground conditions, metabolic rate, and margin for error. Now I sleep predictably, not hopefully.
The principle is simple: plan the night, not just the number on the tag. Here's how.
Step 1: Identify Your Sleep Movement Profile
Before you shop, name your pattern. Restless sleepers fall into a few categories, and each one has different bag implications.
If you toss side-to-side all night: You compress the insulation unevenly. Mummy bags with tight hip and shoulder construction will shift their loft as you move, leaving gaps. Then you need a bag with a wider center zone, either a semi-rectangular profile or a full rectangular cut that gives your legs and core room to reposition.
If you rotate from back to stomach frequently: You need insulation that doesn't bunch under your body or slide upward when you flip. Bags with interior baffles that stabilize loft (rather than allow it to migrate) perform better. This is especially critical if you're a hot sleeper who sleeps partially outside the bag and needs the insulation to stay put even when exposed.
If you kick, stretch, or occupy a lot of horizontal real estate: You're a candidate for a rectangular or semi-rectangular design. A fact confirmed by real-world testing: rectangular bags are excellent for restless sleepers who need to move and don't have severe weight or space constraints. This is your comfort-first category.
If you wake frequently and adjust position deliberately: You may benefit from a quilt, which allows you to reshape coverage without fighting a rigid footbox or shoulder constraints. A quilt's open-side design lets you position insulation where you need it in the moment.
Create a simple if/then decision tree in a note on your phone or a paper checklist:
- Side sleeper, small shoulder width → Try semi-rectangular with gusseted sides
- Side sleeper, broad shoulders → Full rectangular or wider-cut mummy (women's or unisex cuts often have more shoulder room)
- Back-to-stomach rotator, hot sleeper → Bags with box-baffle construction; synthetic insulation to resist moisture
- Frequent repositioner, weight-conscious → Quilt with good draft collar
Step 2: Choose Insulation Type Based on Your Climate and Moisture Profile
Movement directly affects how moisture (from breath, sweat, and humidity) behaves inside your bag. This is non-negotiable for predictable warmth. Not sure which insulation fits your climate? See our down vs synthetic guide.
Down insulation (850+ fill power preferred) compresses well, packs small, and provides excellent warmth-to-weight. However, down loses nearly all insulating value when wet. If you're a restless sleeper who perspires, sleeps in humid coastal conditions, or camps on wet ground without a quality pad, down adds risk. Down can be mitigated with a hydrophobic treatment, but budget an extra margin of safety.
Synthetic insulation (polyester-based) retains warmth when damp and requires less fussy maintenance. For restless sleepers who generate heat and moisture, synthetic often means better sleep consistency. Affordable synthetic options like the Exped DeepSleep 45 ($100) or Marmot Trestles Elite Eco 20 ($189) deliver solid warmth without breaking your budget. These are ideal for shoulder-season backpacking or variable microclimates.
If/then for insulation:
- Cool, dry alpine environment, light sleeper → Down (850 fill or higher); pair with R-value 5+ pad
- Humid coastal or rainy regions, restless/hot sleeper → Synthetic; plan to air dry daily
- Three-season car camping, variable nights → Synthetic is your safety play
- Winter mountaineering, bivy or single-wall shelter → Down with hydrophobic treatment; add moisture barriers
Step 3: Match Bag Temperature Rating to Your Real Conditions - With a Buffer
This is where most restless sleepers stumble. ISO 23537 temperature ratings tell you the bag's specification, not your personal warm-sleep threshold. Your restless movements, metabolism, pad choice, shelter, and clothing all shift the effective rating by 10-20°F.
Here's your buffer for messy weather. If you're camping in conditions that might drop to 20°F:
- Start with a bag rated for 20°F if you're a hot sleeper in a double-wall tent on a quality pad (R-value 4+)
- Step down to a 10°F bag if you're an average sleeper in variable wind or a single-wall shelter
- Choose a 0°F or lower bag if you're a cold sleeper, sleeping in a bivy, or conditions are unpredictable
The Western Mountaineering UltraLite 20°F ($660) and Feathered Friends Swallow UL 20 ($659) are benchmarks for realistic warmth at their rating. They're expensive because they're built right: the insulation and design earn their temperature label, not underdeliver it.
For a restless sleeper, avoid cutting the margin close. A 10-15°F buffer between forecast low and bag rating gives you flexibility. If you're buying one primary setup, conservatism here pays dividends across seasons.
Checklist: Temperature decision
- Know your personal baseline (cold, average, or hot sleeper)
- Know your shelter type (bivy, single-wall, double-wall, hut)
- Know your typical pad R-value (or commit to upgrading it first)
- Add 10-15°F safety margin above forecast low
- Select bag rating 10°F lower than your margin floor
Step 4: Prioritize Fit and Draft Management
A restless sleeper in an ill-fitting bag creates cold pockets through continuous movement. Every shift spills body heat. Every reposition can expose bare skin or draft zones.
Fit considerations for constant movement:
Shoulder and hip room: Mummy bags with tight circumferences work best for still sleepers. For restless movements, a bag where you can lie on your side without compression in your shoulder or hip creates better insulation stability. Women's bags and unisex cuts often solve this. The NEMO Disco 15 Endless Promise, available in men's and women's cuts ($300 each), is noted for its spoon shape that offers generous extra space around the knees and elbows (exactly what a side-sleeper needs). If side sleeping is your default, see our side sleeper sleeping bags guide.
Footbox design: A semi-boxed or full rectangular footbox stays in contact with your feet even when you shift. Mummy footboxes taper sharply and can gap as you reposition.
Draft collar and foot draft tube: These must be snug enough to seal but not so tight that they restrict movement. A rigid draft collar can feel restrictive to someone who moves; look for designs that allow the collar to shift without losing effectiveness.
Zipper placement: Full-length side zippers are superior for restless sleepers because they allow ventilation without dismantling the bag when you overheat mid-sleep.
If/then for fit:
- Sleep on your side regularly → Choose a wider-cut bag or quilt; measure your shoulder width and request a size comparison
- Tall and broad-shouldered → Order "Long" sizes; don't compromise on shoulder room
- Sleep partially outside the bag for cooling → Quilt with draft collar beats a mummy
- Frequently adjust during night → Semi-rectangular or rectangular cut trumps mummy
Step 5: Build Your Complete Sleep System With Integrated Margins
A sleeping bag is one piece of an integrated system. The pad, shelter, and sleepwear all combine to create your real warmth. A restless sleeper in a perfect bag on a thin pad will still freeze.
The pad matters more than most backpackers realize. An R-value of 4-5 for three-season camping; R-6+ for winter or alpine. A pad provides 40-50% of your insulation from ground heat loss. If you're choosing between a premium bag and a premium pad, upgrade the pad first. Movement shifts your contact points on the pad constantly; a good pad stays insulative through those shifts.
Integrated sleep system example for a restless sleeper, shoulder-season camping (forecast low 25°F):
- Bag: REI Magma 15°F ($399), semi-rectangular, synthetic
- Pad: R-value 4.5 (neoprene or foam)
- Shelter: Double-wall tent or ground tarp with wind protection
- Sleep system: Lightweight base layer + hat; bag liner if humidity is high For details on warmth gains and fabric choices, read our sleeping bag liners guide.
- Buffer: 15°F system margin below forecast low (= system works comfortably at 10°F)
This system is repeatable. You know it works because you've tested it. Next trip, you use the same checklist: forecast low, pad R-value, insulation type, fit profile. The variables are fewer; the sleep is predictable.
Actionable Next Step: Build Your Scenario Table
Start here: You're going to sleep the same way on every trip. You'll use the same five questions and a buffer, every time.
- What's the forecast low for the coldest night?
- What's your shelter type and wind exposure? (bivy, single-wall, double-wall, hut)
- What's your pad R-value? (If unknown: upgrade it this month)
- Are you a hot, average, or cold sleeper?
- What's your primary sleep position? (side, back, stomach, rotating)
Now, create a simple decision table in a spreadsheet or notes app. Three columns: Condition, Bag Spec, System Margin. Fill in three scenarios you actually camp in: spring car camping, summer backpacking, winter alpine.
For each, write down the bag you'd choose, the pad you'd pair it with, and your safety buffer. Laminate that table (or keep it in your phone). Before every trip, check the forecast against the table. Nine times out of ten, you'll land on the same bag and pad. No second-guessing. No gear swaps mid-season. No waking up cold because you miscalculated.
That's the ritual that turned my sleep from a 50-50 gamble into a 95% predictable outcome. Your restless habits won't change. But your system will anticipate them, and your insulation will stay where it needs to be, keeping you warm, not wandering.
No shame for overpacking while learning. Bring the extra layer, the thicker pad, the larger bag. Once you've tested your system and slept warm three times in a row, you'll know where to trim without sacrificing predictability. Until then, conservatism is clarity.
Your buffer is your insurance. Use it.
Related Articles